Summary:
In this article, we will walk you through the process of setting up "My Preferences" for each individual user or field tech employee after their login to ServiceBox. By following these steps, you will ensure that the proper screen comes up in the ServiceBox App, displaying all jobs scheduled for the day, including those added on the same day.
Step by step process:
Access the Calendar Screen:
- Ensure that you are on the Calendar screen in the ServiceBox App on your smartphone.
- If you find yourself on the blue "Alert" screen, tap on the "Web" icon at the bottom left and switch to the ServiceBox Dashboard/Screen.

Set Up Default Screen:
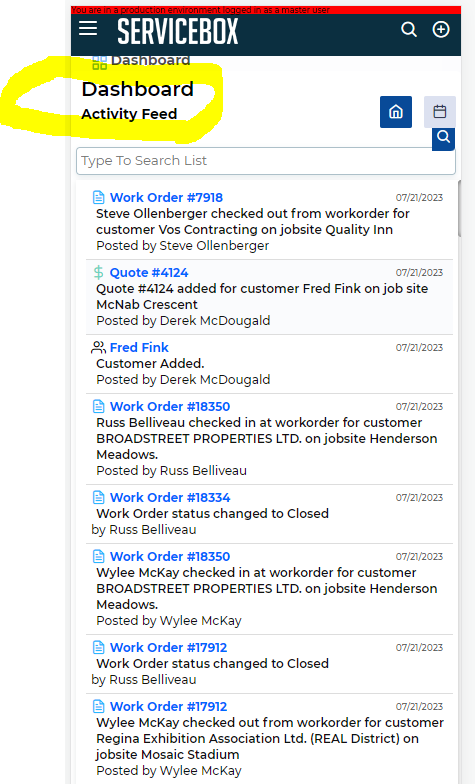
If your screen does not match the one shown above, here's how you can set it up as your default screen for easy access.
- At the top of the screen, you will see three white lines and the ServiceBox logo

- Tap on this intersection to reveal a menu, and then find and select "My Preferences."

- Once you select "My Preferences," you will be directed to a screen where you can customize your settings. Pay special attention to the options indicated in the screenshots and adjust them accordingly to your preferences.

- After making the necessary changes to your preferences, tap on the "OK" or green button at the bottom to save the settings.
Return to Home Screen:
- To go back to the home screen, tap again on the white lines/ServiceBox logo at the top left corner of the screen. Then, choose "Home". You should now see the desired setup displaying all your scheduled jobs for the day, including those added on the same day.
For further assistance or inquiries reach out to the dedicated support team at support@jobboxsoft.com